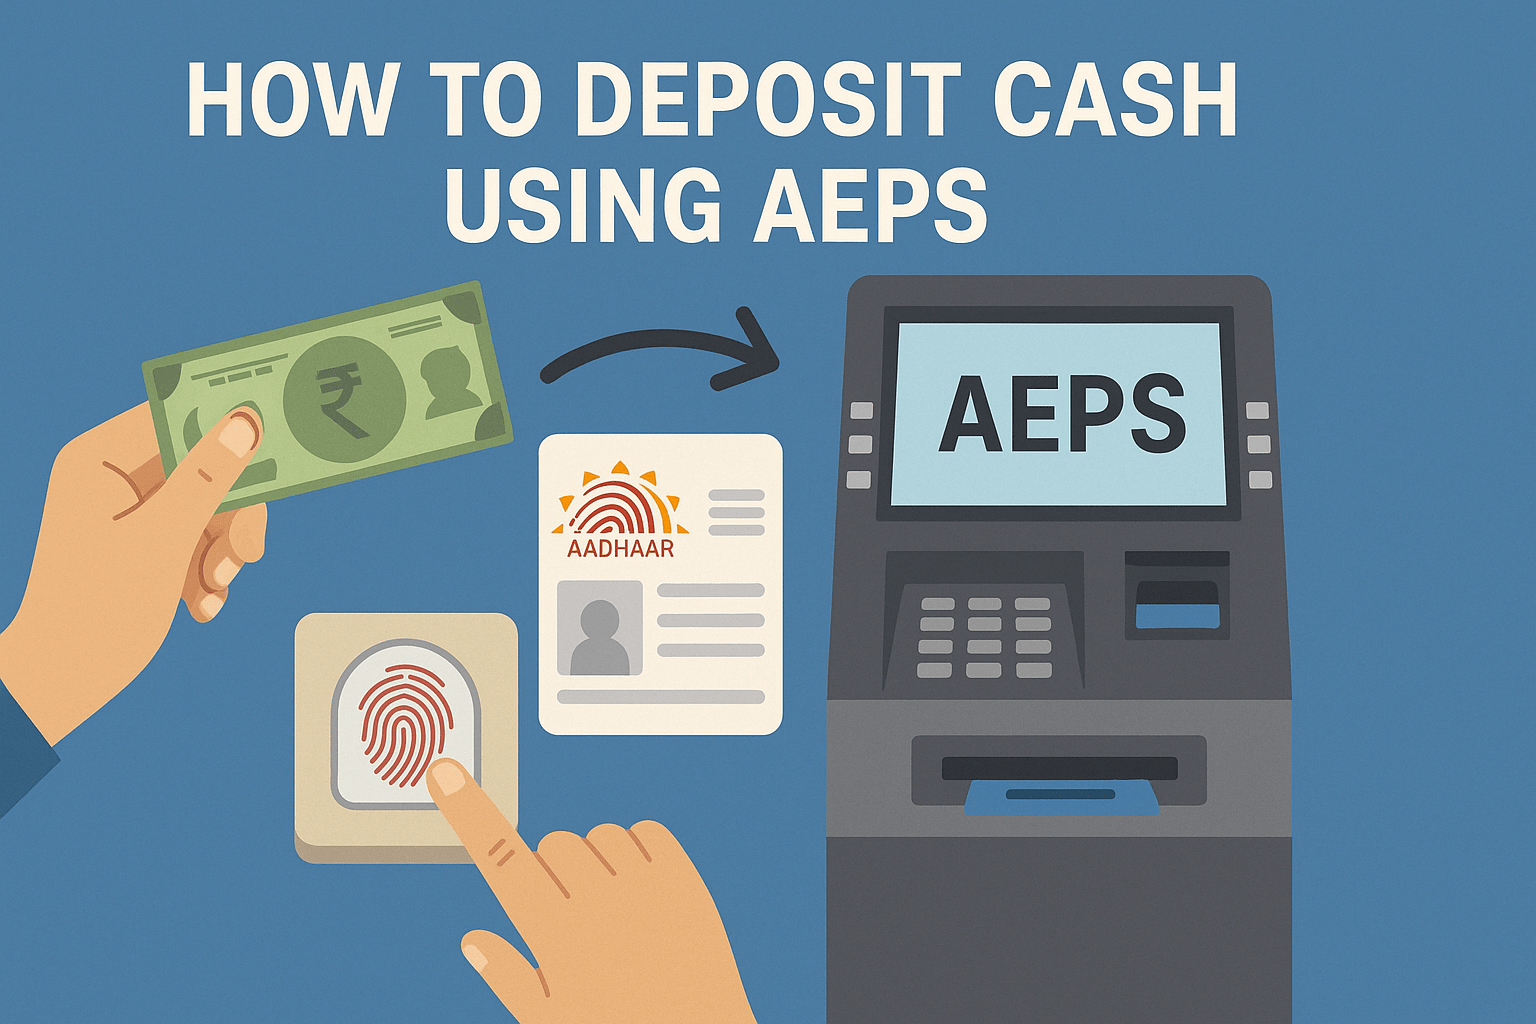
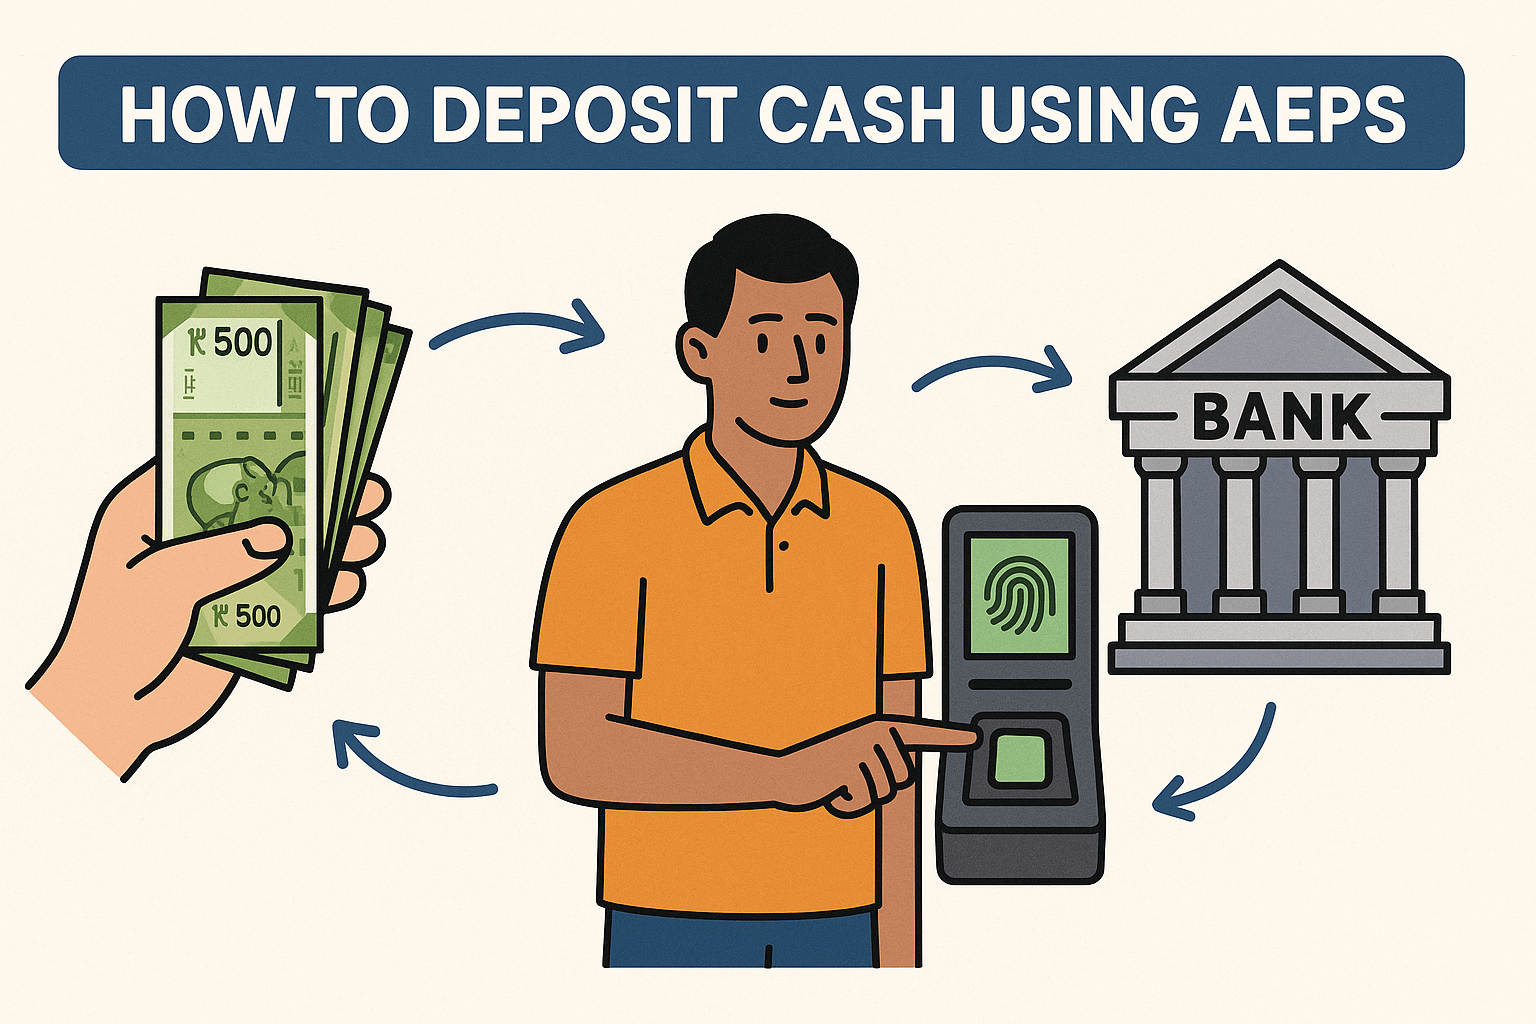
In a country racing towards a digital economy, the humble cash (How to Deposit Cash Using AEPS) note still holds undeniable power. But getting that physical money into your bank account without visiting a crowded branch can be a challenge. This is where the Aadhaar Enabled Payment System, or AEPS, becomes a game-changer. If you’ve ever wondered how to deposit cash using AEPS, you’re in the right place. This comprehensive guide will walk you through everything you need to know, from the basics to the nitty-gritty details, empowering you to bank with just your fingerprint.
What Exactly is AEPS? The Foundation Explained
Before we dive into the “how,” let’s understand the “what.” The Aadhaar Enabled Payment System (AEPS) is a bank-led model introduced by the National Payments Corporation of India (NPCI). It allows you to perform basic banking transactions—like cash deposit, withdrawal, balance inquiry, and fund transfers—at a MicroATM by authenticating yourself with just your Aadhaar number and fingerprint.
Think of it as a mini-ATM that doesn’t need your debit card or PIN. Instead, it uses your unique Aadhaar-linked biometrics to verify your identity and connect directly to your bank account. This system was revolutionary in driving financial inclusion, bringing banking services to the remotest parts of India where traditional bank infrastructure is scarce.

The Prerequisites: What You Need Before You Start
You can’t just walk up to a machine and deposit cash. A few things need to be in place first:
-
An Aadhaar Card: This is your primary key. You must have a valid, 12-digit Aadhaar number.
-
Bank Account Linked with Aadhaar: Your bank account must be linked to your Aadhaar number. This is usually done at your bank branch, through net banking, or via the UIDAI website. You can check your Aadhaar linking status on the NPCI website or by giving a missed call to 14440.
-
A Nearby AEPS Service Point (MicroATM): You need to find a business that offers AEPS services. These are typically:
-
Local Kirana or convenience stores
-
Business Correspondents (BCs) or Customer Service Points (CSPs)
-
Certain ATM centers
-
Pharmacies or other retail outlets displaying “AEPS Service Available” stickers.
-
-
Your Biometric Data: Your fingerprint data must be updated and synced with UIDAI. If your fingerprints are worn out or often fail to authenticate, you might need to get them updated at an Aadhaar enrollment center.

Your Step-by-Step Guide: How to Deposit Cash Using AEPS
Now for the main event. Here’s the detailed, step-by-step process of making a cash deposit.
Step 1: Locate an AEPS Agent
Find a nearby store or agent that provides AEPS services. You can often find them by asking around in your neighborhood or searching on Google Maps for “AEPS service near me.”
Step 2: Provide Your Details
Inform the agent that you want to deposit cash. They will initiate the transaction on their MicroATM machine (a handheld POS device with a fingerprint scanner). They will ask you for:
-
Your Bank’s Name (IIN): Every bank has a specific Identification Number (IIN). The agent will select it from their device’s list.
-
Your Aadhaar Number: You must provide your 12-digit Aadhaar number.
-
The Transaction Type: Clearly state that you want to make a “Cash Deposit.”
Step 3: Biometric Authentication
This is the crucial security step. The agent will hand you the MicroATM device. You will be prompted to place your finger on the biometric scanner. Use the finger you registered with UIDAI (usually the thumb or index finger). The system will verify your identity in real-time by matching your fingerprint with the data stored in the UIDAI database.
Step 4: Enter Cash Amount and Confirm
Once your identity is verified, the agent will enter the amount of cash you wish to deposit. They will show you the amount on the screen for confirmation. Double-check this amount carefully.
Step 5: Hand Over the Cash
If the amount is correct, hand over the exact physical cash to the agent.
Step 6: Receive Transaction Confirmation
The transaction will be processed. Upon success, the device will generate a transaction receipt. This receipt is your proof of payment. It will contain vital details like:
-
A Transaction ID/Reference Number
-
Your Bank Name
-
The Amount Deposited
-
Date and Time
-
Your Aadhaar Number (often masked for security)
Always collect this receipt and keep it safely until the amount is reflected in your bank account.
Step 7: Account Crediting
The funds are typically credited to your account instantly or within a few hours. You can check your balance via an AEPS balance inquiry, SMS banking, or your bank’s app to confirm.
The Advantages and Limitations of AEPS Cash Deposits
Why Use AEPS?
-
No Need for a Debit Card or Phone: Ideal for individuals who are not tech-savvy or have lost their card.
-
Accessibility: Brings banking to rural and semi-urban areas.
-
Security: Biometric authentication is highly secure and eliminates the risk of PIN theft.
-
Interoperability: You can use any bank’s AEPS service point to deposit into your account, as long as the agent’s device supports your bank.
What to Watch Out For?
-
Transaction Limits: NPCI sets a limit per transaction and per day. The cash deposit limit is usually ₹10,000 per transaction but can vary slightly between different BCs and banks. Always confirm the limit with the agent.
-
Service Charges: While many transactions are free, agents may charge a small fee for the service, especially for cash deposits. This fee is not standardized and can vary. Always ask about any charges beforehand.
-
Biometric Failure: Poor fingerprint quality can lead to transaction failure.
-
Agent Dependency: Your transaction’s success depends on the agent’s reliability and a stable internet connection.
Safety First: Tips for a Secure AEPS Experience
-
Verify the Agent: Only use authorized and reputable agents. Look for official signage and identity cards.
-
Guard Your Aadhaar Number: While you must provide it, be cautious about sharing it unnecessarily. Ensure the transaction is being done on a legitimate device.
-
Insist on a Receipt: Never leave without a printed transaction receipt. It is your only proof.
-
Check Your Balance: Always verify that the money has reached your account soon after the transaction.
-
Report Discrepancies Immediately: If the money isn’t credited, contact your bank’s customer care with the transaction reference number from your receipt.
The Bigger Picture: AEPS in India’s Financial Landscape
According to a 2022 report by the Reserve Bank of India, the volume of transactions through BCs and MicroATMs has seen a compound annual growth rate (CAGR) of over 30% in the last five years. This underscores the critical role systems like AEPS play in serving the last mile. Experts like Mr. Nandan Nilekani, the architect of Aadhaar, have often highlighted interoperable systems like AEPS as the backbone of India’s digital financial infrastructure, ensuring that no citizen is left behind.
Conclusion
Learning how to deposit cash using AEPS is like unlocking a superpower for your financial mobility. It demystifies banking, making it accessible, secure, and incredibly convenient. By leveraging your Aadhaar, you can ensure your hard-earned cash safely enters the formal banking system from almost anywhere, without the need for plastic cards or complex apps. So, the next time you have cash to deposit, find your nearest AEPS agent, follow the steps, and experience the future of inclusive banking today.
Frequently Asked Questions (FAQs)
1. Is there any charge for depositing cash via AEPS?
While the AEPS infrastructure itself may not have a fee, the Business Correspondent (agent) providing the service is often allowed to charge a nominal fee for the transaction. This is not standardized and can vary from agent to agent. Always ask about any service charges before proceeding.
2. What is the maximum amount I can deposit using AEPS?
The standard cash deposit limit set by NPCI for AEPS is ₹10,000 per transaction. However, some banks or BCs may have their own lower limits. There may also be a daily cumulative limit. It’s best to check with your bank and the agent for specific limits.
3. What should I do if my fingerprint is not recognized?
If your fingerprint authentication fails, try using a different finger that was registered with UIDAI. Ensure your finger is clean and dry. If it consistently fails, your biometric data at UIDAI might need an update. You will have to visit an Aadhaar Enrollment Center to update your biometrics.
4. How long does it take for the money to show in my account?
AEPS cash deposits are typically processed in real-time. The amount should reflect in your account instantly or within a few hours. Delays are rare but can occur due to technical or network issues.
5. Can I deposit cash into any bank account using AEPS?
Yes, the AEPS system is interoperable. You can deposit cash into your account from an AEPS point that operates under a different bank, as long as your bank account is linked to your Aadhaar number and the agent’s device supports your bank’s IIN.
Disclaimer: This article is for educational and informational purposes only. The features, limits, and charges associated with AEPS are subject to change as per guidelines from NPCI and individual banks. Readers are advised to confirm the latest details from their respective banks or authorized AEPS service agents. While we strive to provide accurate information, we do not guarantee the completeness or accuracy of all details at the time of reading. If you have any concerns about the content published here, please refer to our DMCA policy page for guidance on content removal and addressing ownership issues.
