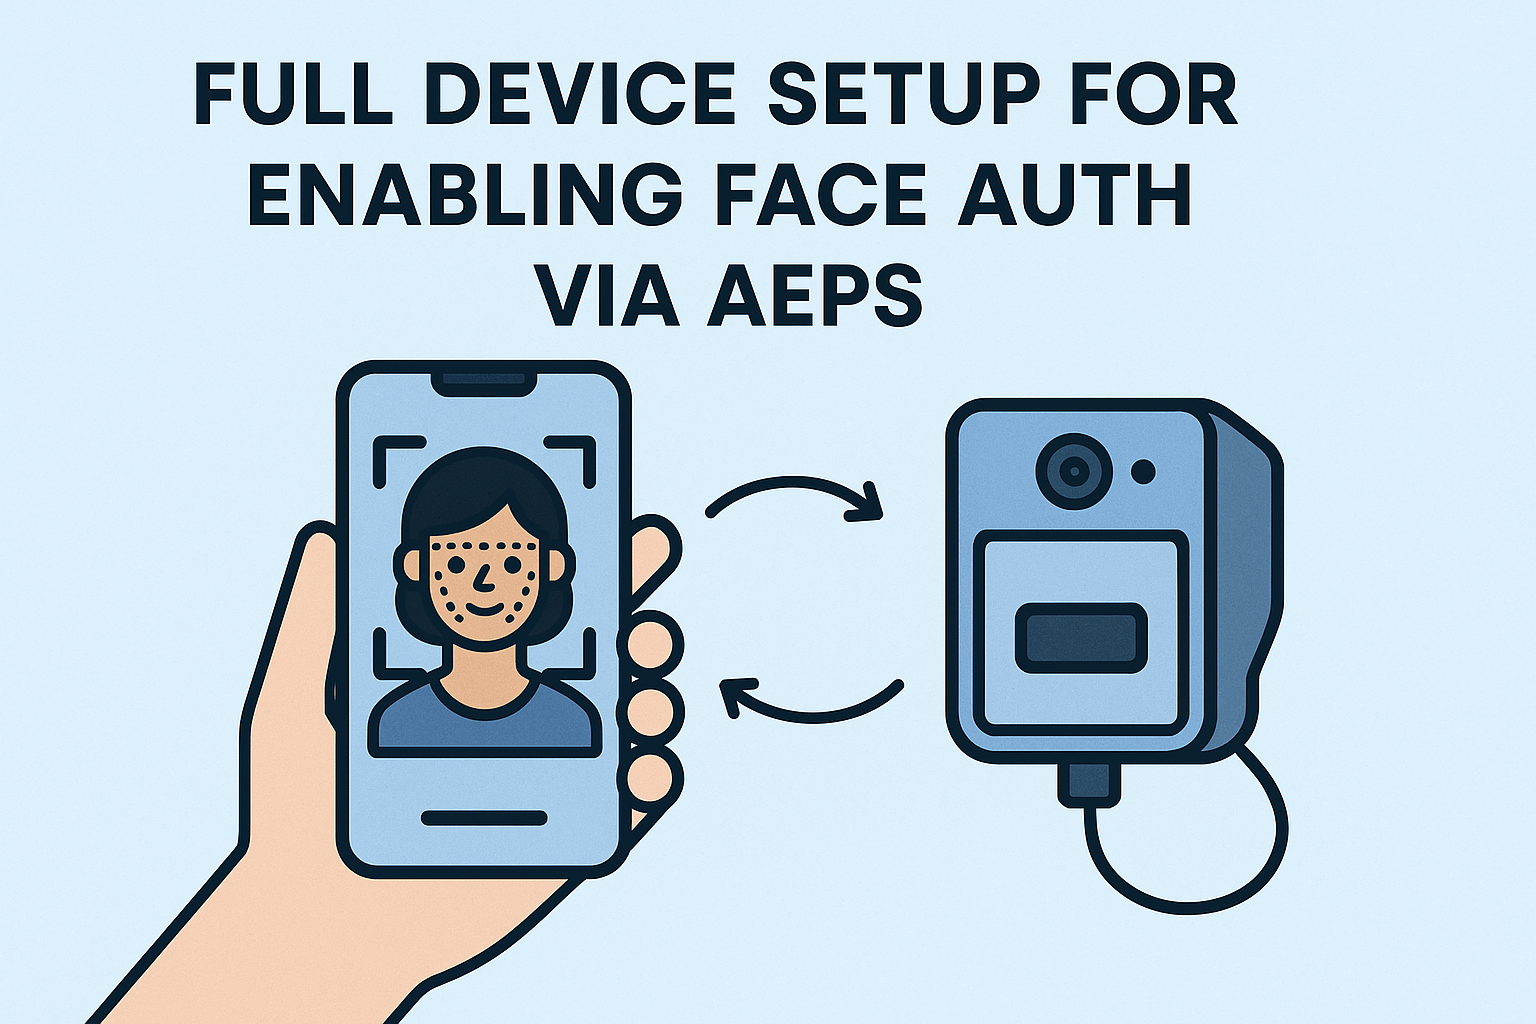
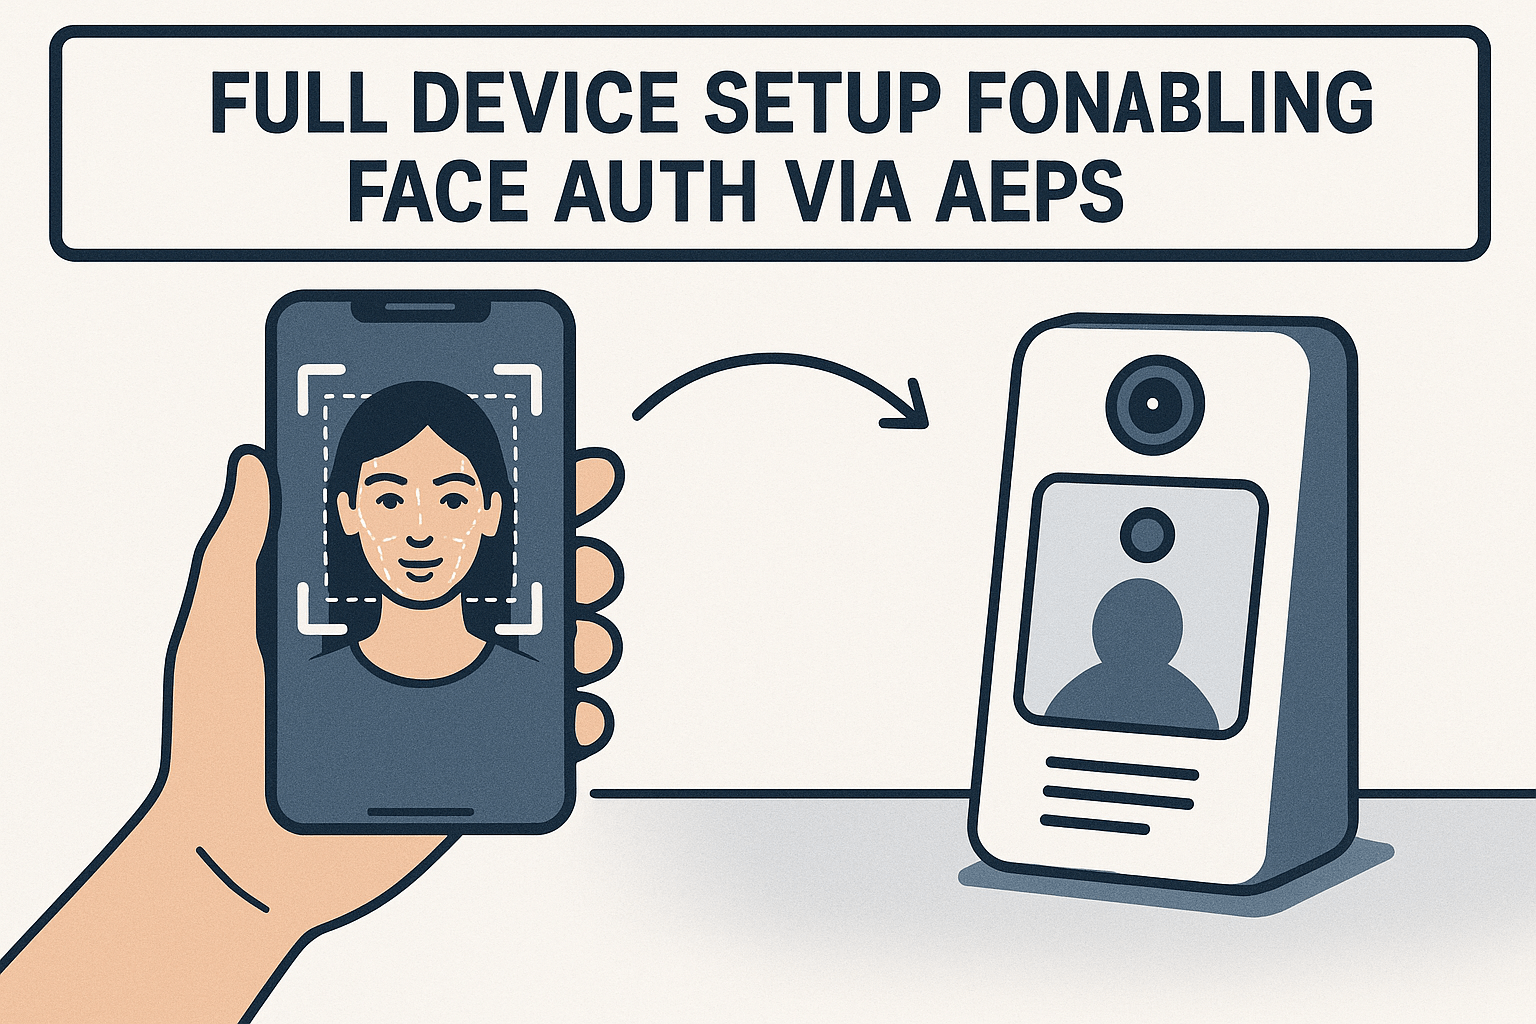
Face authentication via AEPS (Aadhaar Enabled Payment System) is (Face Auth via AEPS) transforming digital transactions by offering a secure, contactless biometric verification method. Whether you’re a merchant, business owner, or an individual looking to integrate this feature, this guide will walk you through the full device setup process for enabling Face Auth via AEPS.
What is Face Auth in AEPS?
Face Auth is a biometric authentication method under AEPS that allows users to verify transactions using facial recognition instead of fingerprints or IRIS scans. Introduced by UIDAI (Unique Identification Authority of India), this feature enhances accessibility, especially for those with worn-out fingerprints or limited mobility.
Why Use Face Auth via AEPS?
-
Contactless verification (hygienic and convenient)
-
Higher success rate compared to fingerprint scans in some cases
-
Inclusive banking for elderly or laborers with faded fingerprints
-
Secure and fast authentication

Prerequisites for Enabling Face Auth via AEPS
Before setting up Face Auth, ensure you have:
-
AEPS-enabled device (microATM, biometric scanner with facial recognition)
-
Registered Aadhaar number linked to a bank account
-
UIDAI-approved face authentication SDK (if integrating into a custom app)
-
Stable internet connection for real-time verification
Step-by-Step Guide to Enable Face Auth via AEPS
1. Choose an AEPS Device with Face Auth Support
Not all biometric devices support Face Auth. Look for UIDAI-certified devices such as:
-
Morpho Face Recognition Device
-
Secugen Face Authentication Scanner
-
IDEMIA’s Facial Recognition Terminals
Ensure the device complies with Aadhaar’s facial recognition standards (ISO/IEC 19794-5).
2. Install Necessary Software & Drivers
-
Download the AEPS software (provided by your bank or NBFC partner).
-
Install the Face Auth SDK (if required).
-
Update device firmware to the latest version.
3. Configure Face Auth in AEPS System
-
Log in to your AEPS portal/device admin panel.
-
Navigate to Biometric Settings > Enable Face Authentication.
-
Test the camera alignment for proper face capture.
-
Adjust lighting settings to avoid authentication failures.
4. Perform a Test Transaction
-
Select Face Auth as the authentication method.
-
Ask the user to position their face within the frame.
-
The system will match the face with Aadhaar records.
-
Upon successful verification, complete the transaction.
5. Troubleshooting Common Issues
-
Authentication Failed? Ensure proper lighting and camera focus.
-
Device Not Recognized? Reinstall drivers or check UIDAI compliance.
-
Slow Processing? Upgrade internet speed or optimize software.

Best Practices for AEPS Face Auth
✔ Use high-quality cameras (minimum 720p resolution).
✔ Train users on proper face positioning.
✔ Regularly update AEPS software for security patches.
Frequently Asked Questions (FAQs)
Q1. Is Face Auth via AEPS secure?
Yes, UIDAI uses liveness detection to prevent spoofing, making it highly secure.
Q2. Can I use any camera for AEPS Face Auth?
No, only UIDAI-certified devices with anti-spoofing capabilities are allowed.
Q3. What if Face Auth fails repeatedly?
Try fingerprint or IRIS authentication as a fallback option.
Q4. Is Face Auth mandatory for AEPS?
No, it’s an optional but convenient alternative to fingerprints.
Conclusion
Enabling Face Auth via AEPS simplifies biometric verification, making transactions faster and more accessible. By following this guide, you can seamlessly integrate facial recognition into your AEPS system.
Disclaimer: This post is for educational purposes only. If you have any concerns regarding the content, please refer to our DMCA page for removal requests. Always verify device compatibility with UIDAI standards before implementation.
